
To Freeze or Not to Freeze

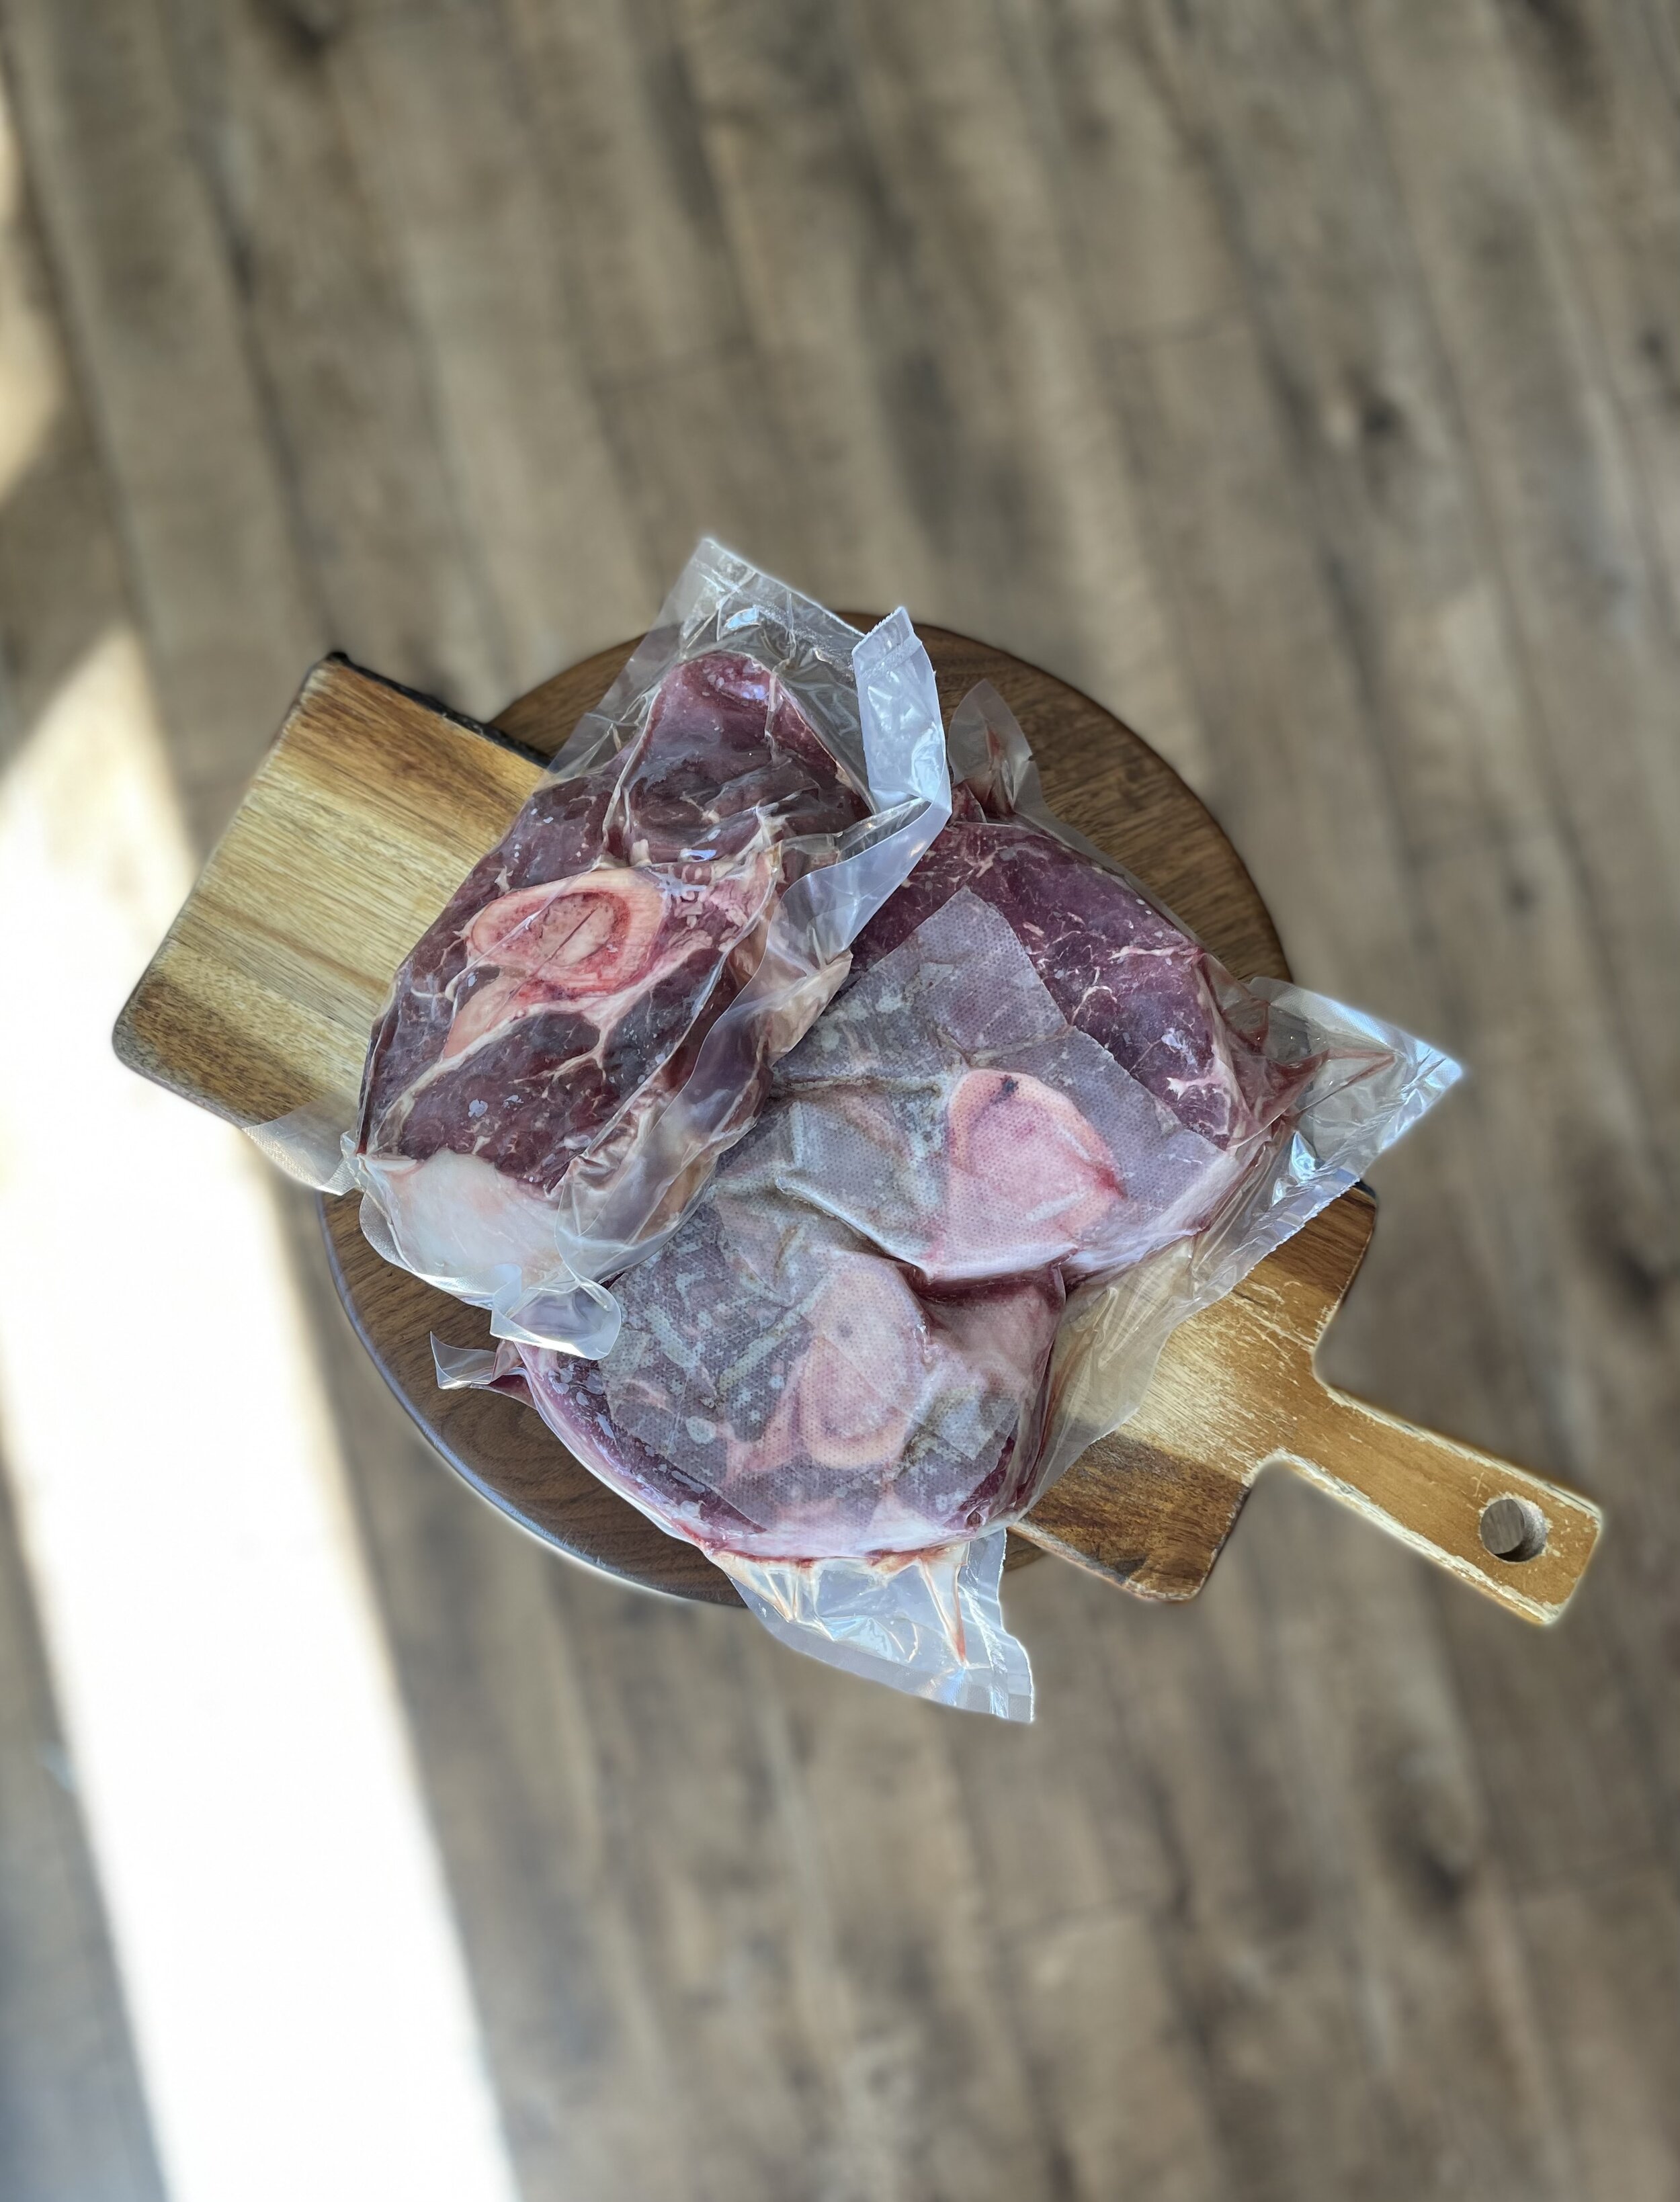
The Sophie’s choice of carnivores. I’ve bought more delicious, custom-cut, responsibly raised meat than I can possibly eat this week from my favorite neighborhood butcher, Electric City Butcher. Do I take the risk of it going bad, or can I put it in the freezer and hope for the best?
Know Your Enemy
First things first, you need to know what attracts that pesky boogieman of the icebox, freezer burn.
Freezer burn occurs when meat’s surface moisture sublimates. Ok, that’s a fancy way of saying “turns from a solid,” (i.e. meat ice) into a gas (i.e. that cool smoke that comes out of your freezer every time you open the door). As a frozen piece of meat loses its moisture, the protein gets discolored and dry, creating microscopic “pockets” that cause chalky, hard textures, and off flavors.
You can’t stop freezer burn; it’s one of those pesky laws of physics. But you can slow it down. Here are five freezer dos and don’ts to ensure you preserve your meats as best as possible.
#1 Freeze Fresh Eats:
This may seem obvious, but even my mom froze her meat the day before expiration, rather than the day she bought it. A freezer is not a time machine. If you freeze ground beef that’s about to go bad, chances are you will have rotten meat when it’s thawed. Freeze fresh meat for best results, not those about to spoil. The sooner they go into the freezer, the fresher they come out.
#2 Undress that Steak and Towel it Down
We’ve got to make sure our meat is dry before it heads into the freezer. The problem is, meat wrapped up in butcher paper—or any other grocery store wrapping--starts to sweat the moment it leaves the shop, especially if left unrefrigerated during transport.
Unwrap all meat when you get home and inspect for moisture. Sop up any puddles and pat the meat dry with a cheesecloth or paper towel. Do this again just before freezing to keep away the “burn.”
#3 Wrap It Up
Now that we’ve got the moisture out, you have to account for air, specifically Oxygen. We want as little as possible. Large pockets or voids are exactly where the freezer burn boogieman likes to lurk. The key here is two layers—preferably of different materials—and as little air as possible. Here are some options:
Vacuum Sealer: Freezer junkies may want to consider a vacuum sealer or cryovac machine. They work really well, but are expensive--especially the bags—and become yet another appliance sitting on your counter.
Plastic wrap and “Zip-Top” Freezer Bags: This is my go-to method. Wrap in plastic then plop it into a Zip-Top. It’s cheap, easy to perform, and highly effective, although, not the most eco-friendly. Wash and reuse those freezer bags if you want to save a turtle.
Tip: When I’m sealing zip-top freezer bags, I suck the air out. You can use a straw if you’re squeamish. Or, you can also slowly immerse the bag in water (a large bucket, sink, or…jacuzzi), leaving just a corner unzipped and let the liquid do the work of pushing out all that air.
Foil or Butcher Paper: Foil or butcher paper are fine freezer layers, and maybe more eco-friendly, but they’re less airtight, and less durable than plastic. I tend to avoid these options. Check frequently for tears if you go this route.
#4 Date that Bag and Flip it!
FIFO (first in, first out) is one of the primal laws of butchery. It’s also one of the most forgotten rules when freezing. If your memory is as good bad as mine, you’ve gotta get out that Sharpy to date and label ever meat item you put in your freezer. Trust me! You’re gonna forget, and the reality is, freezer burn will affect even the best wrapped meats after 6-12 months. Stack meats with the oldest up front, and organize them monthly.
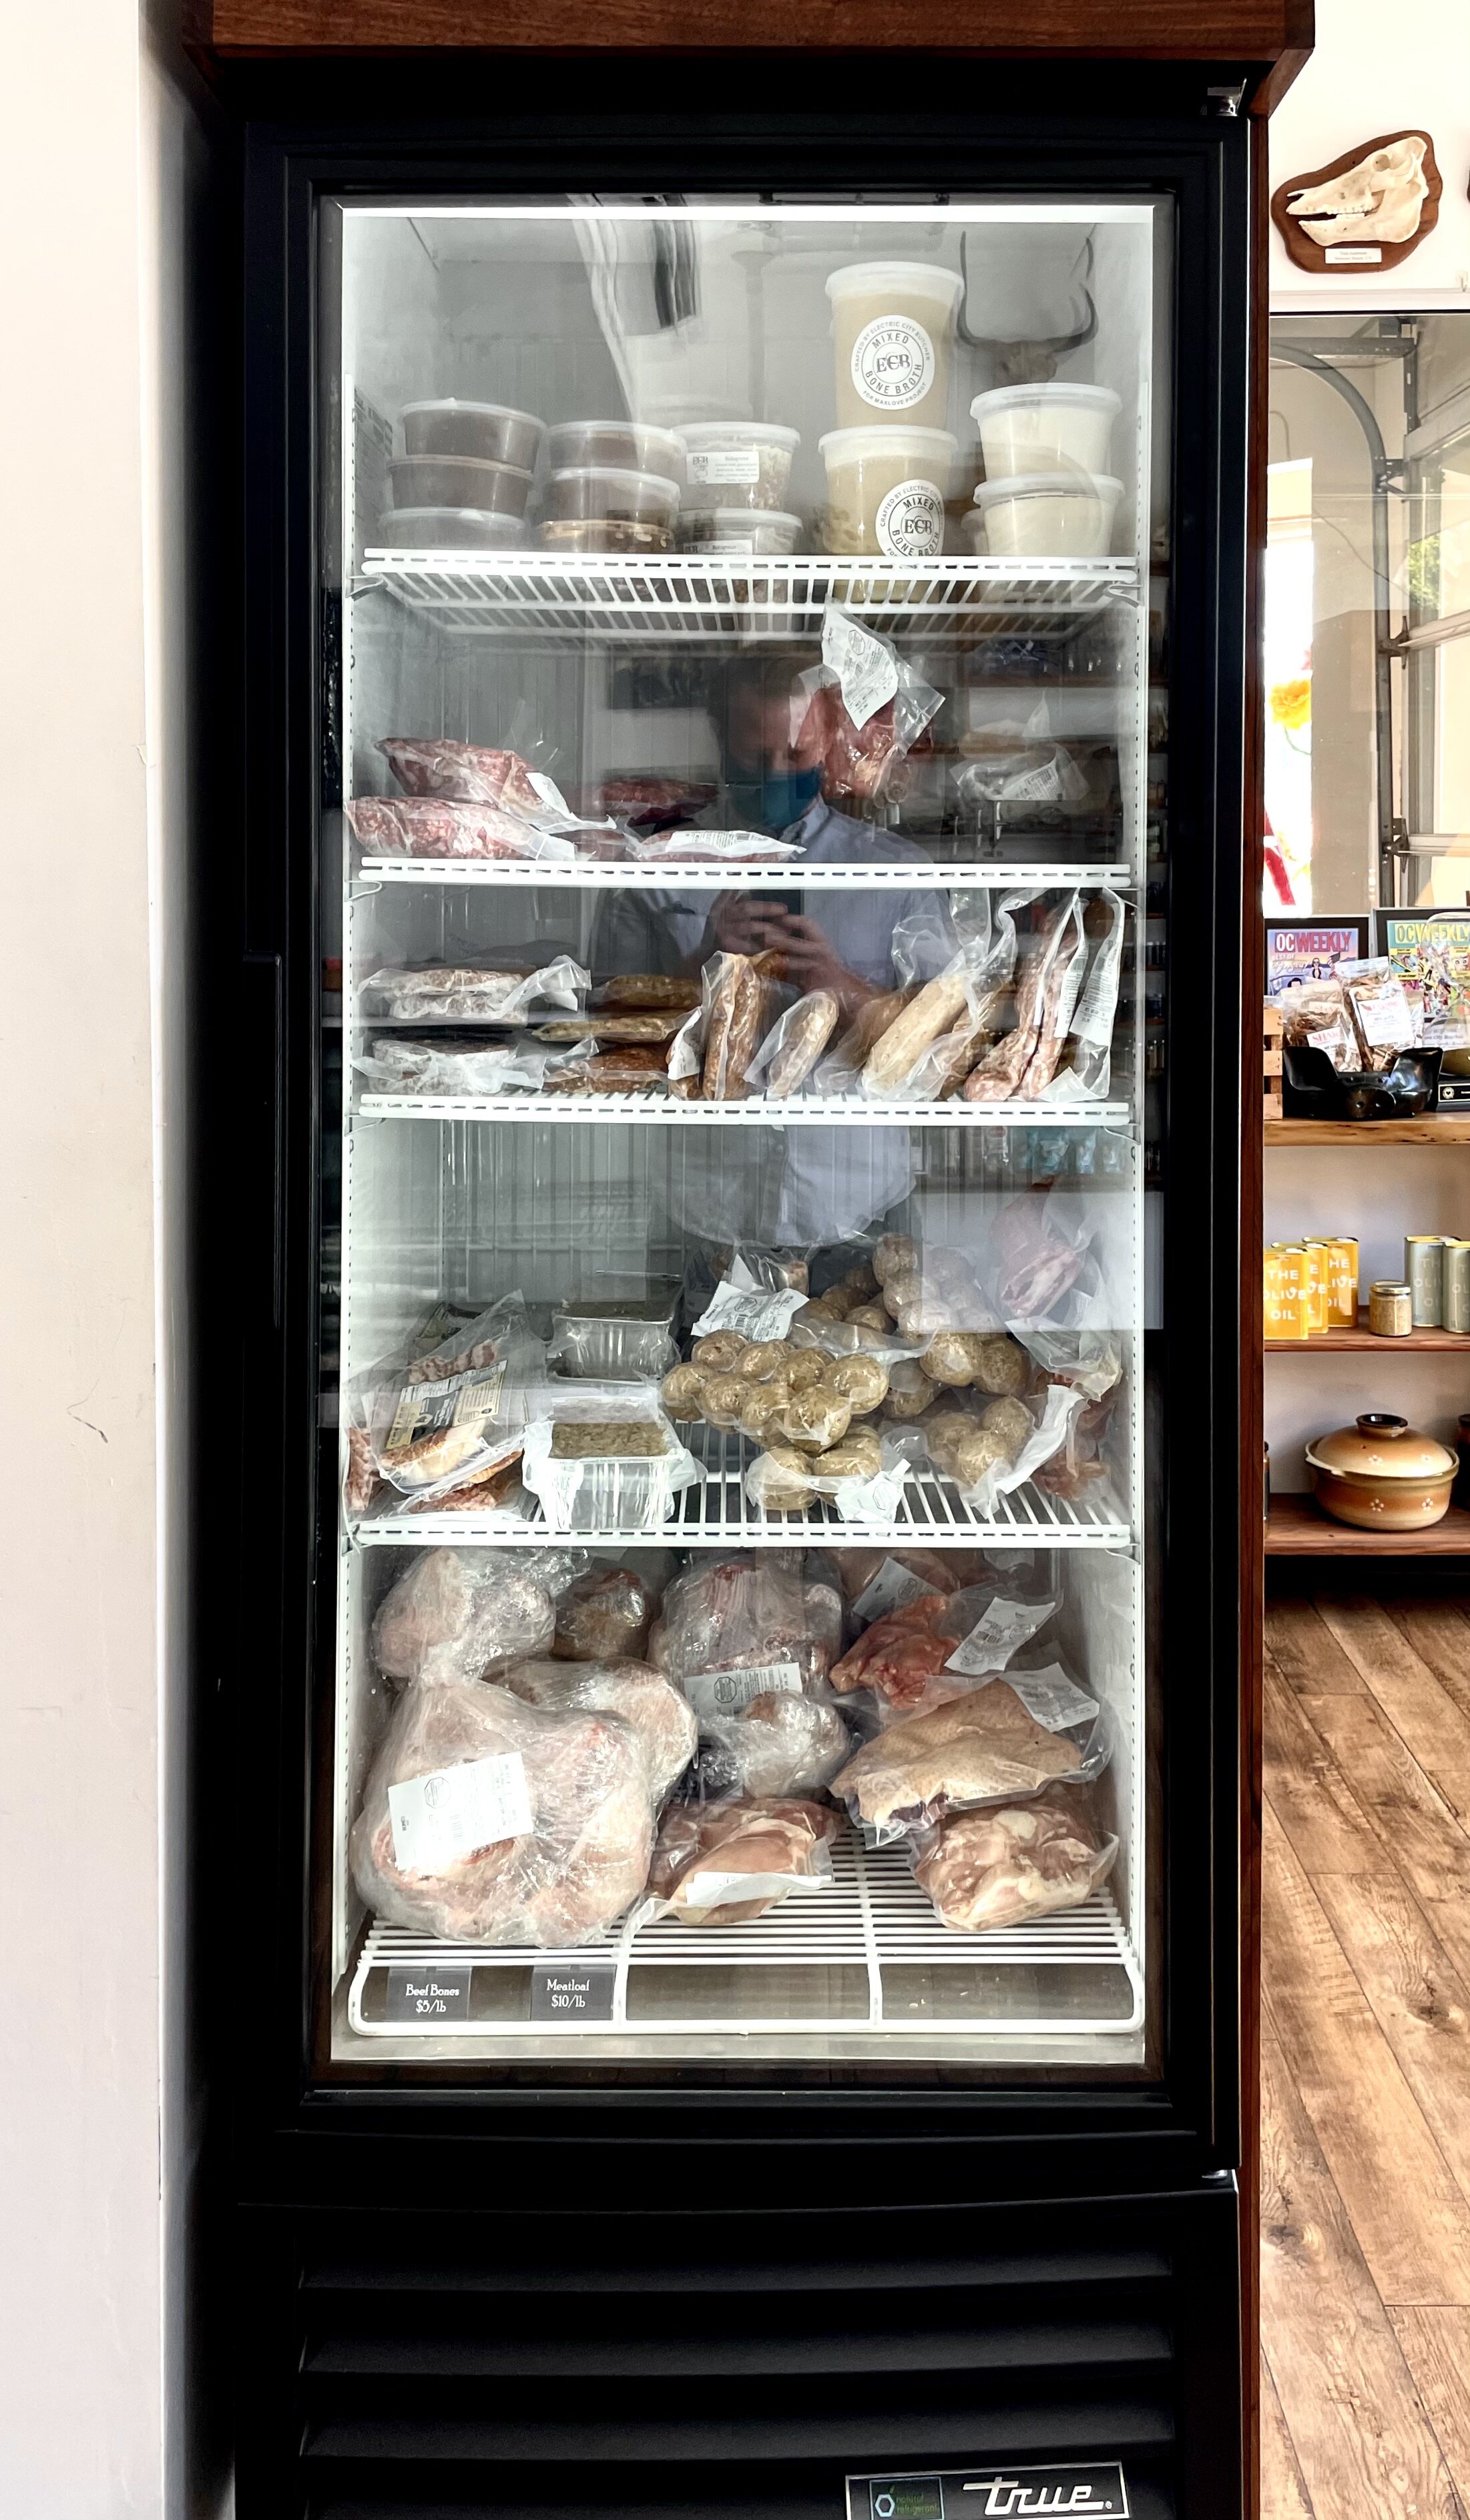
#5 Know Your Freezer
For best results, know your equipment. If your freezer isn’t cold enough to start, your meat will start to sweat again while waiting to freeze (see step #2). Set your freezer to 0°F (or lower) to minimize any cold sweats. Also, keep meats away from the freezer door (where it’s warmest), and keep them closer to the blower (normally in the back). Finally, try not to open and close your freezer too often.
There you have it. Five easy steps for freezer success. Now fill that thing up!
More Frosty Freezer FAQs
It’s still freezer burned! What do I do? If you do get freezer burn on your meat, it’s more unpleasant than it is dangerous to eat. Simply remove the affected portions after thawing, or include it with your braise or stew and cross your fingers it might re-hydrate.
How long can I freeze? The short answer is, forever, or at least thousands of years. Just ask these guys who recently thawed a wholly rhino in Russia after 25,000 years! But I wouldn’t eat that meat. Well, maybe I would. Regardless, there are trade offs. The USDA has it’s own opinions on the subject, and they tend to be most conservative. I say 3-4 months, or assume some freezer burn. Take your pick.
Are some meats better suited for the cold? For sure! Ground meats are the most robust. They’ve got high moisture, soft texture, and portion with ease. Stew and Braising Cuts (chuck, shank, shoulder, rounds) and other “low and slow” cuts do great but remember to portion these cuts before freezing, you’ll need a hacksaw to cut through a chuck roast until fully thawed. Steaks, Chops and Searing Cuts are the most affected by the freezer. Moisture expands when freezing, rupturing the muscle fibers in the process. This affects texture and moisture loss. Pre-frozen steaks may be mushier and drier when thawed.
What’s with all this Liquid? All frozen meats release some moisture in the thawing process, especially ground meats. Use a sheet tray or other container to catch that extra juice when thawing. Also, don’t throw the purge down the drain. If the meat is going into a soup, stew, or sauce, you can always add the moisture back into the pot for more flavor. If you just seared a steak, use the purge to deglaze your pan for a show-stopping jus.